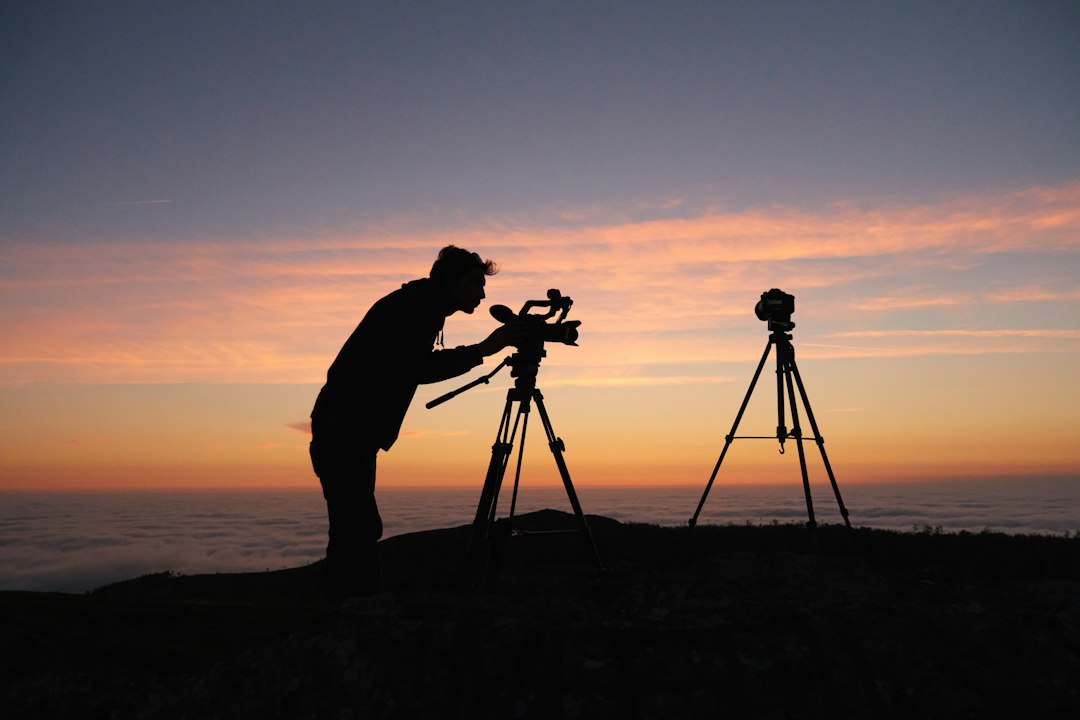
Photo by KOBU Agency on Unsplash
Day-for-Dusk: Shooting Twilight Without the Time Pressure
The Twilight Window Problem
Real dusk lasts about twenty minutes. That narrow window between day and night offers gorgeous, soft light that cinematographers love, but it creates a logistical nightmare. You get one take, maybe two if you’re lucky and efficient. Miss your shot and you’re waiting twenty-four hours to try again. Actors flub a line, a boom dips into frame, or a car honks in the background during your rural dialogue scene, and the magic hour becomes a very expensive magic minute.
Day-for-dusk solves this by shooting during the day and grading the footage to look like twilight. It’s a controlled alternative that gives directors the time they need without the pressure of a disappearing sun.
How the Technique Works
The trick begins on set. Cinematographers typically shoot in the middle of the day when the sun is high, but they underexpose the footage significantly—often by two or three stops. This darkens the sky and reduces contrast, creating a flatter image that’s easier to manipulate later.
The camera settings matter. A cooler white balance pulls the warmth out of daylight, shifting toward the blue end of the spectrum. Some cinematographers add graduated neutral density filters to darken the sky even further while keeping foreground elements visible.
Lighting the scene requires some finesse. Any practicals—streetlights, house windows, car headlights—need to be on and bright enough to read as light sources in what will become a twilight scene. The sun itself becomes a stand-in for the moon or ambient skylight, so its direction and quality need to match the intended mood.
Color Grading Does the Heavy Lifting
Post-production transforms the underexposed daylight footage into convincing dusk. Colorists deepen the blues in the sky, sometimes adding gradients that fade from deep blue at the top to warmer tones near the horizon. They lift the practicals so those lights pop against the darkening environment, creating the contrast between artificial light and natural twilight that signals evening to audiences.
The key is subtlety. Push the effect too far and you get a muddy, artificial look. Preserve too much daylight and the illusion breaks. Good day-for-dusk walks the line where viewers accept the time of day without questioning it.
When It Works and When It Doesn’t
Day-for-dusk excels in wide shots where the sky plays a supporting role rather than the star. Suburban streets, building exteriors, and landscapes benefit from the technique. Close-ups work fine too, since faces don’t reveal time of day the way skies do.
The technique struggles with certain elements. Harsh, direct sunlight creates shadows that don’t match the diffuse quality of real twilight. Bright clouds can resist grading, staying stubbornly white when they should be purple or gray. And any reflective surfaces—car paint, windows, water—can betray the deception by showing the high sun’s position.
Action scenes and sequences requiring multiple setups benefit most from day-for-dusk. You can shoot all day, maintaining continuity across takes and angles, without watching the clock. The freedom to work through complex choreography or dialogue without the setting sun as a countdown timer makes the trade-off worthwhile.
The Alternative: Day-for-Night’s Cousin
Day-for-dusk sits between true dusk shooting and day-for-night, which transforms daylight into full night. Day-for-night requires even more underexposure and aggressive grading, and it’s fallen out of favor as audiences have grown more sophisticated and digital cameras have improved their low-light capabilities.
But day-for-dusk remains relevant because it solves a specific problem: capturing that brief, beautiful transition time without the tyranny of the clock. It’s not about faking something impossible. It’s about controlling something impractical.